
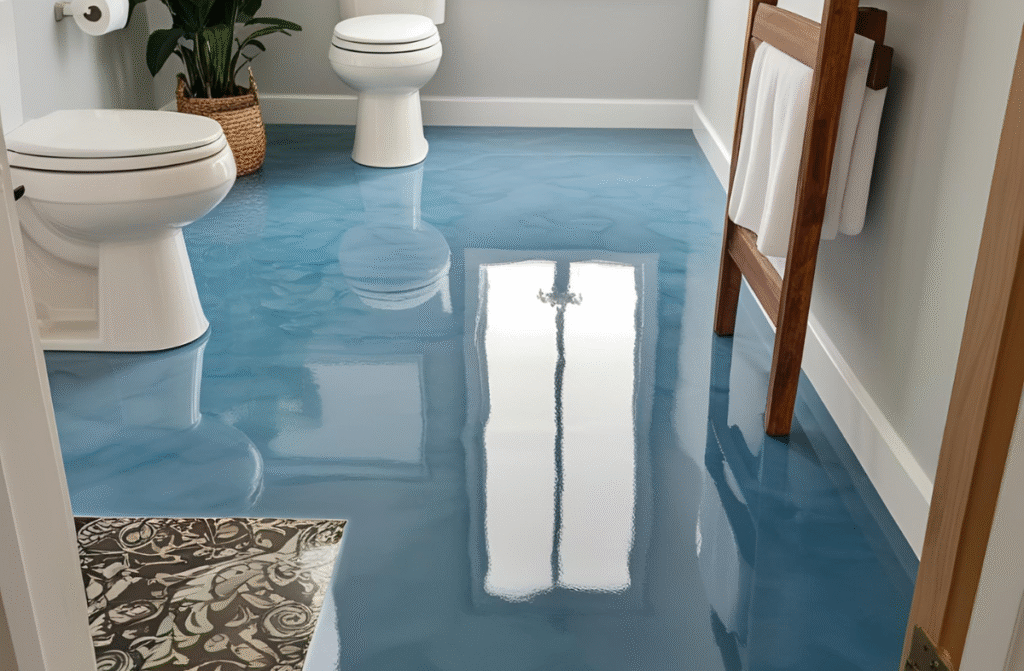
Looking for something bold and elegant? Metallic epoxy floors bring shine, depth, and movement to your bathroom.
These pigments catch the light beautifully, making your space look bigger and more dynamic. Great for modern and futuristic styles.
All you need is a metallic epoxy kit, a notched squeegee, and a heat gun to blend. It’s easier than it looks!
Try colors like bronze, silver, or sapphire blue for that high-impact look.
Combine Epoxy with 3D Art to Create Illusionary Floor Designs
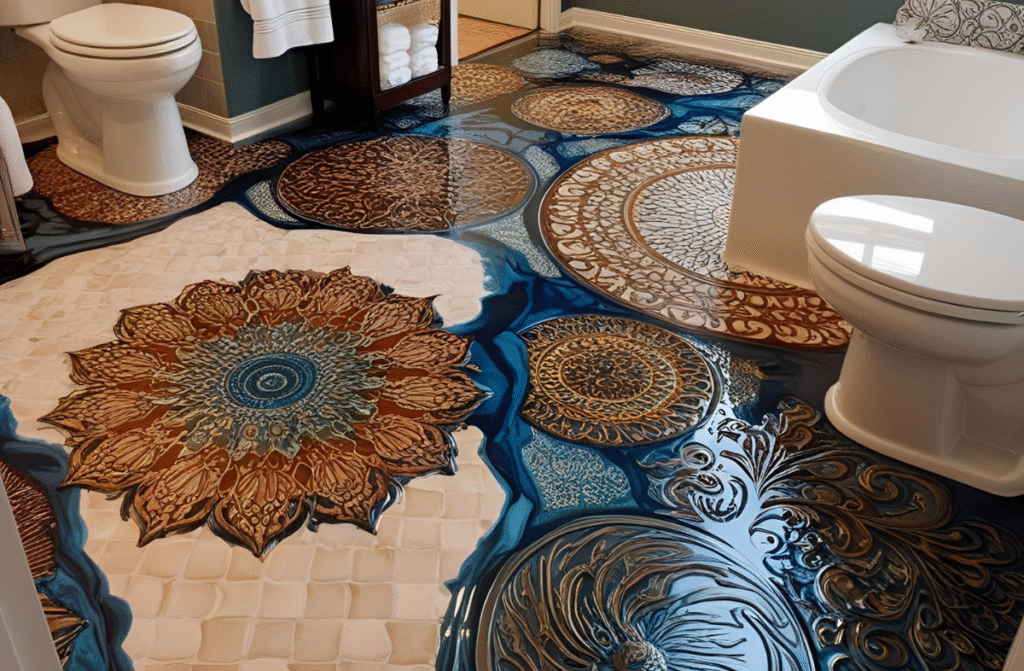
Want to wow your guests and yourself every morning? 3D epoxy floors offer next-level creativity.
From ocean waves to underwater reefs, this flooring creates the illusion of depth and movement. It’s perfect for artistic souls who want their bathroom to stand out.
You’ll need a 3D floor decal, clear epoxy resin, and a smooth topcoat for a durable, stunning finish.
Ideal for beach houses or bathrooms needing a unique twist.
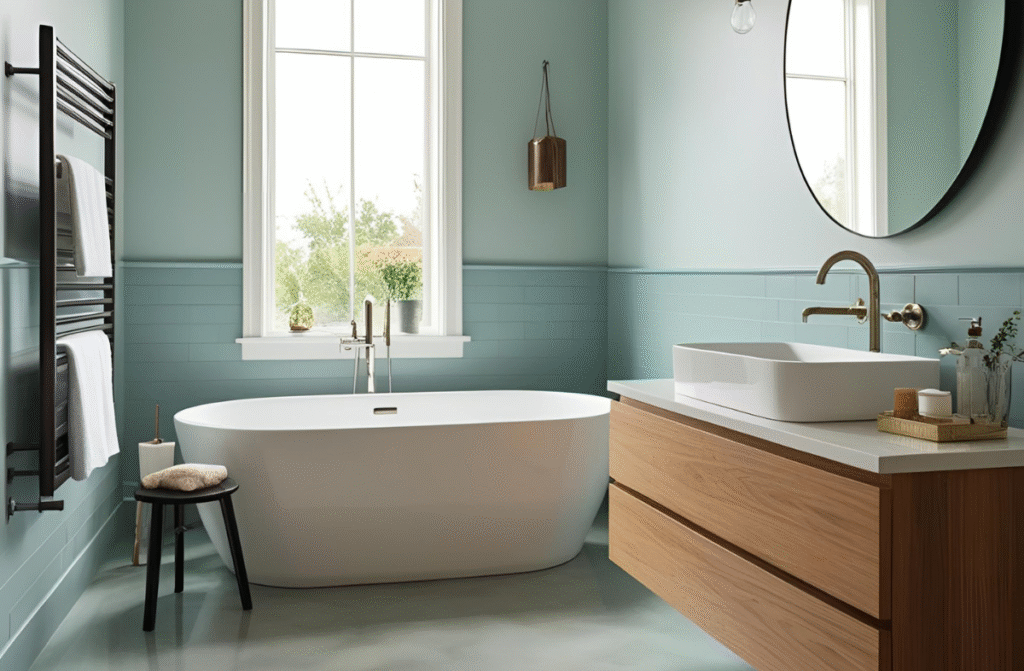
Choose High-Gloss White Epoxy for a Clean Modern Finish
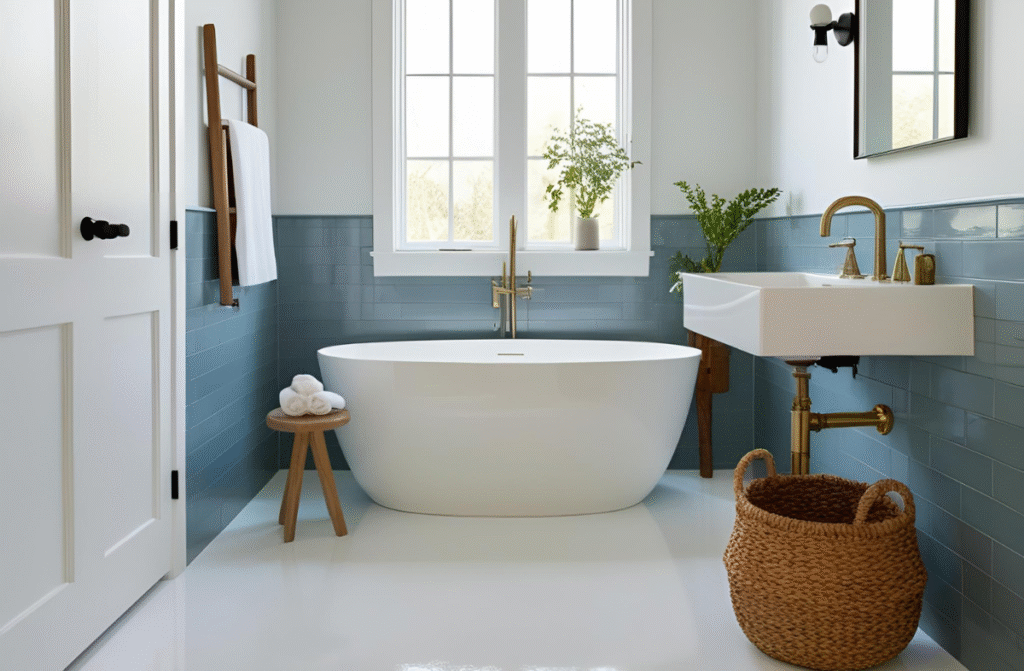
Nothing beats the timeless beauty of an all-white floor. Glossy white epoxy gives your bathroom a clean, bright, and expansive feel.
White reflects more light, making your space appear bigger and more inviting. Pair with matte black fixtures for contrast.
Look for an epoxy kit that includes white pigment paste and a UV-resistant topcoat.
This look is perfect for those who love minimalism and crave that showroom-style finish.
Add Glitter to Your Epoxy for a Sparkling Floor Makeover

If you love a bit of sparkle in your life, why not bring it to your bathroom floor? Glitter-infused epoxy is trending for a reason.
It adds fun, glamour, and brightness to otherwise plain flooring. Gold, rose gold, or holographic glitter can all be mixed into clear resin.
This idea works best in small bathrooms or powder rooms where you want to make a bold statement.
Don’t forget an anti-slip topcoat to ensure safety along with style.
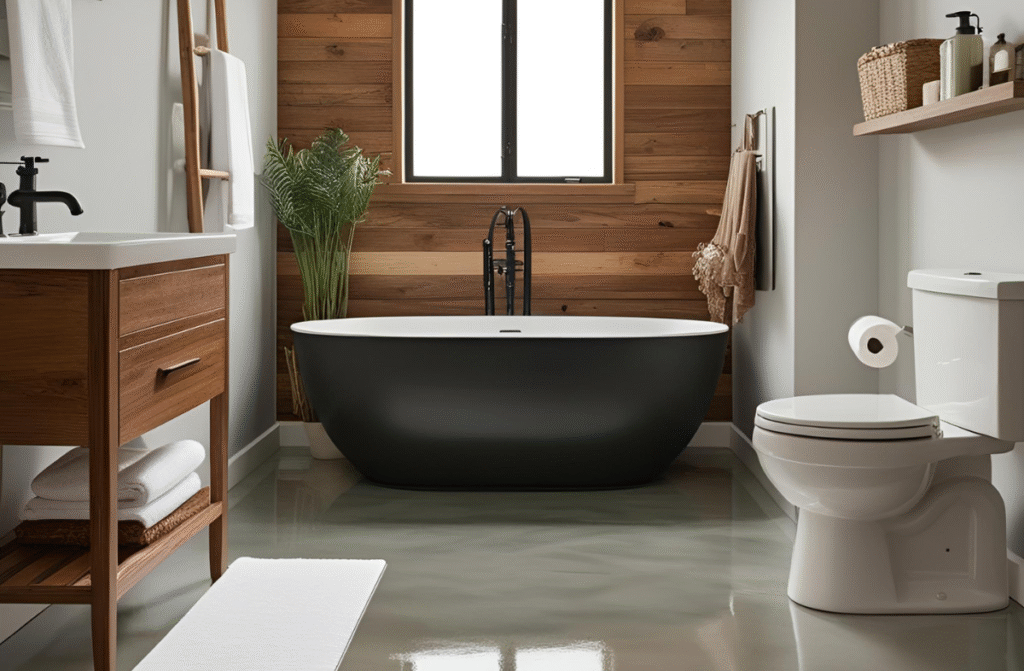
Try Stone and Concrete Epoxy Textures for a Rustic Look
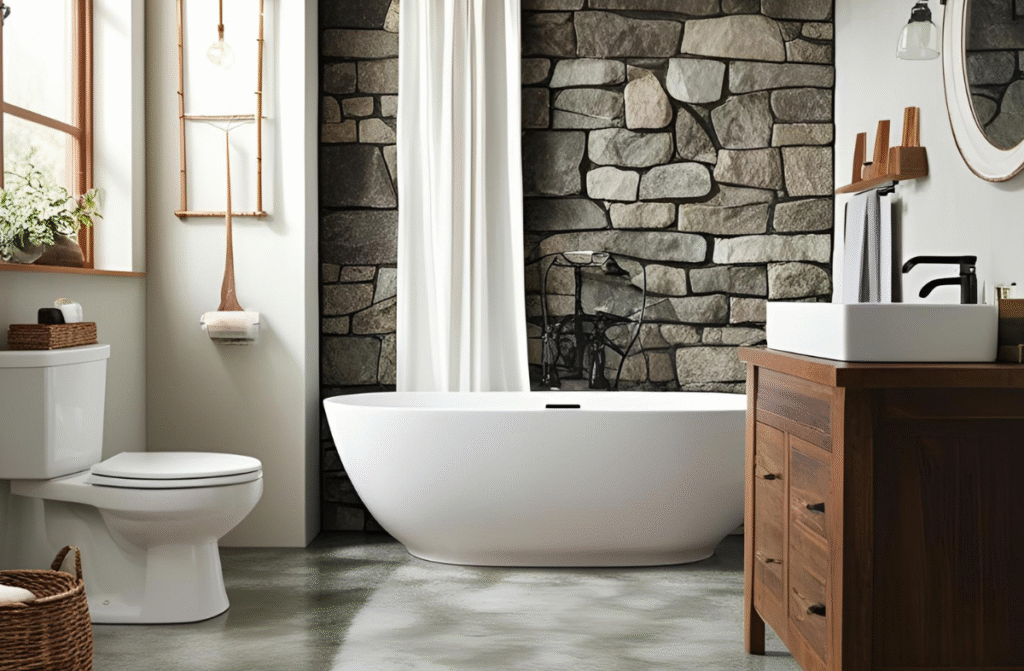
Prefer a more grounded, rustic aesthetic? Stone-textured epoxy delivers the look of raw materials without the maintenance.
You can mimic concrete, slate, or natural stone using textured roller brushes and pigments. It’s ideal for farmhouse-style bathrooms.
Buy a stone-look epoxy kit with matte sealer for a natural finish.
Great for creating a cozy, down-to-earth vibe while keeping the floor waterproof and crack-free.
Go for Two-Tone Epoxy Designs for Added Depth and Flow
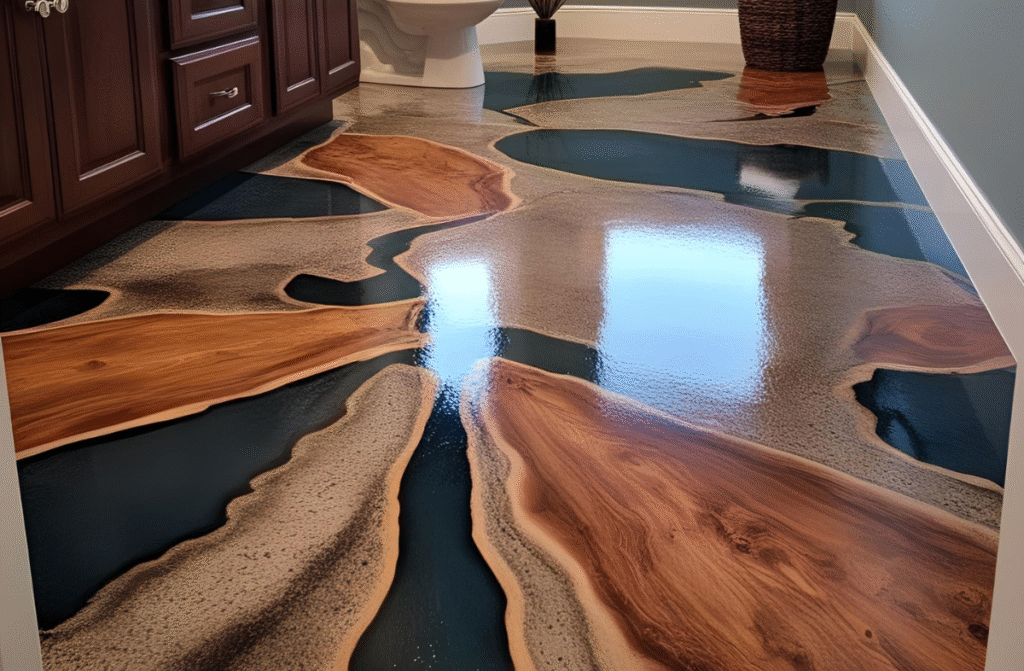
Why settle for one color when you can have two? Two-tone epoxy floors let you blend contrasting or complementary shades for more impact.
Choose soft pastels or bold blacks and whites for visual drama. It’s a creative way to break the monotony of plain floors.
You’ll need two pigment colors, masking tape, and a swirl tool or brush.
This style is great for modern, artistic bathrooms and allows for complete customization.
Elevate Small Bathrooms with Light-Colored Epoxy Shades
Smaller bathrooms can look cramped with the wrong flooring. Light-colored epoxy floors reflect more light, creating an airy, open feel.
Pale blue, cream, or icy gray pigments make excellent choices. They pair well with minimalist decor and compact fixtures.
Epoxy kits with pastel pigment options are widely available and beginner-friendly.
This is the perfect idea if you’re working with a tiny space but want big results.
Add Anti-Slip Additives for Family-Friendly Bathroom Flooring
Safety comes first, especially in bathrooms shared with kids or elderly family members. Epoxy with anti-slip additives provides peace of mind.
These textures prevent slips and falls without compromising on style. Ideal for all types of epoxy finishes — glossy, matte, or metallic.
You can mix anti-slip granules directly into the final topcoat.
This practical upgrade is a must-have for homes focused on both function and aesthetics.
Choose Waterproof Epoxy for Long-Term Durability and Savings
Bathrooms are high-moisture zones, which is why waterproof epoxy flooring is a smart investment.
Unlike tiles or wood, epoxy doesn’t crack or harbor mold. It seals your floor completely and requires very little maintenance.
Opt for products labeled “100% solids epoxy” for maximum protection and strength.
This idea is perfect for those tired of constant repairs and grout cleaning.
Use Clear Epoxy Over Tiles for a Fast and Budget-Friendly Remodel
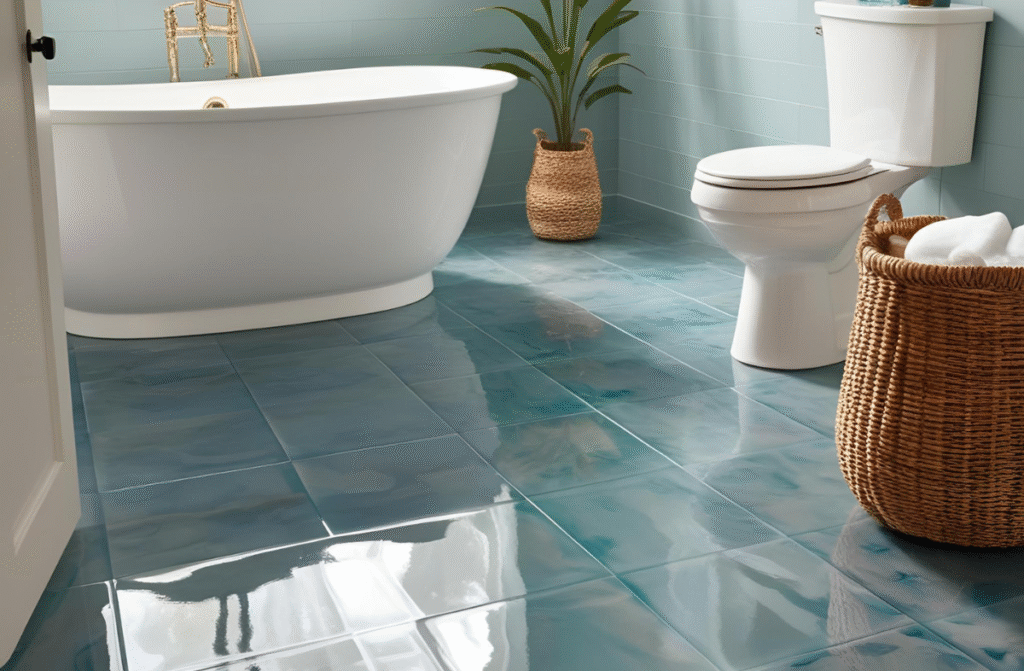
Don’t want to remove your old tiles? No problem. Clear epoxy over existing tiles can transform your bathroom without demolition.
Just deep clean the surface, apply a bonding primer, and pour the clear resin.
This method saves time, money, and the headache of tile removal — all while giving your floor a fresh new finish.
You can even add light glitter or tints for extra flair.
Experiment with Epoxy Borders or Geometric Inlays

Want to get creative with minimal effort? Epoxy inlays and borders help break up plain designs while adding character.
Use painter’s tape and multiple pigment colors to create patterns or borders. You can even mimic tile shapes or mandala art.
This idea works well with accent walls and minimalist vanities.
Perfect for DIYers looking to showcase their creativity without going over the top.
Add Underfloor Heating Beneath Epoxy for Extra Comfort
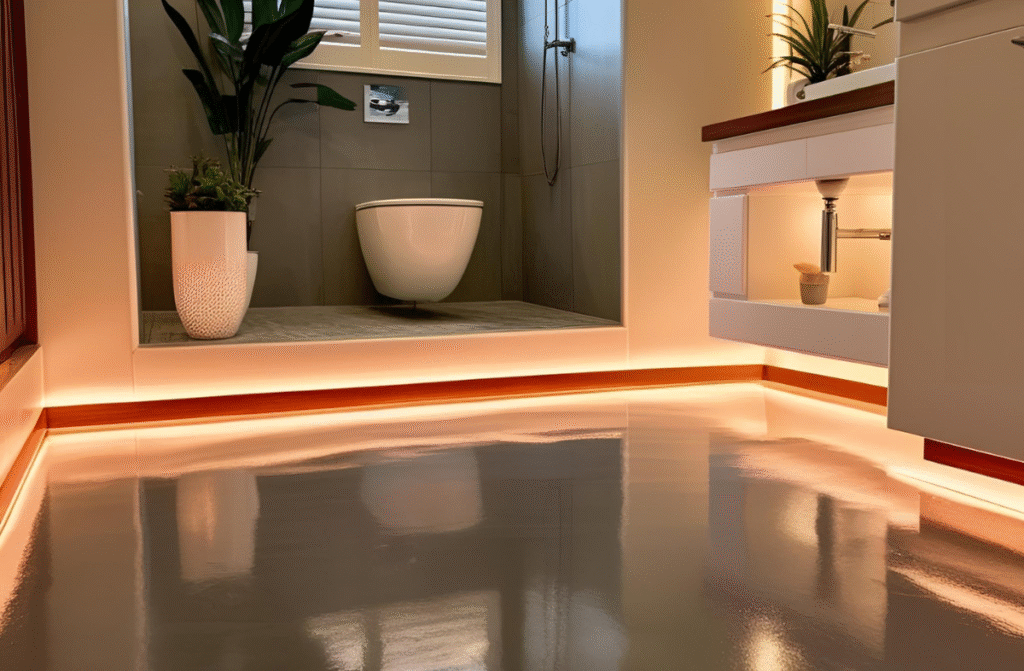
Cold bathroom floors? Not anymore. Epoxy works beautifully with underfloor heating systems, adding comfort to your stylish space.
Heat mats or hydronic systems can be installed before pouring the epoxy. The resin spreads evenly, allowing for excellent heat distribution.
This combination is ideal for colder climates or luxurious master baths.
Add this upgrade to boost both your comfort and resale value.
Go Green with Eco-Friendly Epoxy Resins for Your Bathroom

Looking for sustainable options? Eco-friendly epoxy made from bio-resins is now available and perfect for bathrooms.
These resins reduce VOC emissions and are safe for indoor air quality. Pair with bamboo shelves or recycled decor for a complete eco vibe.
Check labels for “low-VOC” or “plant-based” when choosing your kit.
Ideal for environmentally conscious homeowners who don’t want to compromise on design.
Frequently Asked Questions
1. Is epoxy flooring safe for bathrooms with kids and elderly users?
Yes! Use anti-slip additives in the final topcoat to ensure safety and prevent slips, especially in wet areas.
2. Can I apply epoxy over existing tile flooring?
Absolutely. With proper surface prep and a bonding primer, epoxy can be applied directly over old tiles.
3. How long does epoxy flooring last in bathrooms?
With proper care, epoxy flooring can last 10–15 years or more, even in high-moisture areas like bathrooms.
4. What’s the best type of epoxy for DIY beginners?
Look for water-based or 100% solids epoxy kits that include clear instructions, pigments, and tools. These are beginner-friendly and durable.